“Lute player ” by Chris Beatrice
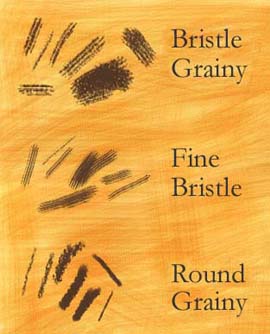
SIX – PAINTINGI used only three (custom) Painter brushes for this picture, shown below in order from course to fine. With each of these I vary only the size as I paint (using the bracket keys “[” and “]” for quick changes on the fly). With the Grainy Round brush I do, however, also vary the graininess for certain applications. Because I strongly established the scene in step five, painting in the details of the music and stand, rapier, candle, costume, etc. goes very, very quickly, with few side tracks or reworks.

SEVEN – DETAILSI paint as much as I can zoomed out, but eventually need to zoom in for the detail work. The lute has a lot of strings (15) each casting its own shadow. To paint these I used the grainy round brush, set to paint straight lines. I laid down a dark instance of each string, then a light instance on top of that, slightly above and to the left, giving the illusion of form to the strings.


EIGHT – TOUCH UP AND TEXTURESI darkened up the shadow areas quite a bit here, and worked into the wall texture to break up the edge of the main cast shadow. I also finally got around to painting that darn candle. I added the shirt bits to bring more whites into the main picture (see note on step five), and also to break up a few of the dark areas of the main image. I made one more pass at the pegs because I wanted them to have a fair amount of detail without looking too slick compared to the rest of the picture

You can also download the brushes used in this picture and download other brush sets on the Brush Download Page


(c) Chris Beatrice, www.chrisbeatrice.com
Pages: 1 2


Latest Comments